Upgrade vRealize Automation 7.3 to 7.4 using vRealize Suite LifeCycle Manager
vRealize
Suite Lifecycle Manager provides a single installation and management platform
for all products in the vRealize Suite.
We can
use vRealize Suite Lifecycle Manager to upgrade vRealize Suite product
installations.
I am
going to explain the step by step, how to import an existing vRA 7.3.environment and perform the upgrade to 7.4 using vRSLCM 1.2.
Prerequisites
Verify
that the vRealize Suite product to upgrade is part of a vRealize Suite
Lifecycle Manager private
cloud
environment, and take a snapshot of the product that you can revert to in the
event that something goes wrong with the upgrade.
· The vRealize Automation management agent and all IaaS
Windows nodes are running.
· The second member in the vRealize Automation load balancer
is disabled
Now let’s start to upgrade vra7.3 to
Vra 7.4 upgrade.
1-
Need
Log in to vRSLCM1.2
2-
Select
Create Environments
Enter
Environment Data
· Data Center ( This is
Topic cover in my previous document )
· Environment Type
· Environment Name
· Administrator email
· Default root password
· Click Next
Create Environment
· Check
the box for vRealize Automation
· Here
we have an environment that we are
going to import, select the import Radio
button.
· Click
Next
EULA
· Scroll
down to bottom.
· Check
the box to accept the terms and conditions.
License
Enter vRealize Suite license
Click Next
Infrastructure
Details
Click Next
Network
Certificates
Import
(we
selected import option. now get ask questions about our existing environment)
Enter vRA root password
Enter vRA Default Administrator password
Enter Tenant User name.
Enter vRA Primary Node FQDN
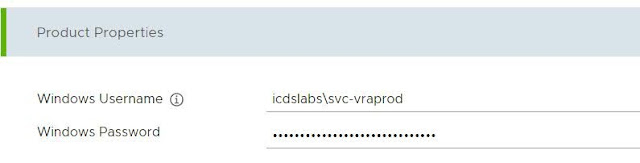
Enter IaaS Username.
Enter vRA Tenant password
Enter IaaS Password for the domain account.
Select vCenter Server from the drop-down where the vRA server is running on.
Click Next
Review
summary
- Click on Download configuration to save the JSON file
for later use.
- Click Submit
Monitoring the Vra Import process
Verify the vRA product
environment
Select
Environment tab on the left side
Select
View details of the newly created environment
Verify
that all the information of your vRA environment is correct.
Now
environment is created successfully and vRA is added.
Before
going to upgarde we have couple of prerequisite has to be check .
Review
VMware documentation to prepare for the upgrade here
Take
Snapshots of all your vRA and IaaS servers before upgrading your environments
Take
a backup of your vRA and IaaS database.
If
you upgrade from a distributed vRealize Automation environment that operates in
PostgreSQL synchronous replication mode, you must change it to asynchronous
before you upgrade.
Add product Binaries
to vRSLCM
We
have couple of way to add product Binaries in vRSLCM. I going to describe more
below.
Using
My VMware downloads (Already covered in my previous blog )
Using Local
Upgrading vRA
Select Environment
tab on the left side.
Select
the 3 vertical dots in the environment and select upgrade
Select
the Production version
Check the upgrade is successful ….